Minecraft is a very customizable game that allows you to freely express yourself through your character! Changing your skin in Minecraft is quick, easy, and free. Here’s how!
Finding a Minecraft Skin
The first step to changing your Minecraft skin would be to find one you like. Simply searching “Minecraft skin” will pull up hundreds of great options. Once you find one you like, download it to your computer. The image will look like this:
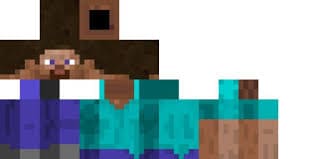
It’s normal for your downloaded skin to look like that! It’s actually supposed to. Your skin will look normal once it’s uploaded to your account.
Next, you’ll have to go to Minecraft.net and log on to your account!
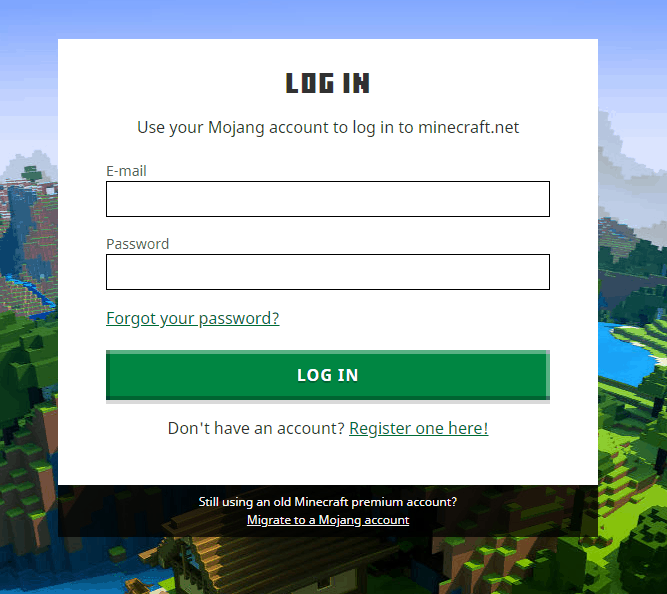
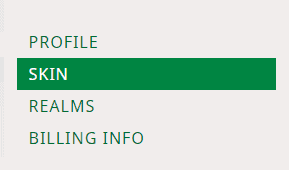
Once you’re logged in, click on your email address which will be at the top corner of the screen, and click “Profile” from the drop-down menu. Once you are at your profile, click on the “Skin” tab.
Classic or Slim?
Java Minecraft currently has two different skin models; classic and slim. These two types of skins are also informally known as Steve and Alex, with Steve being the classic model, and Alex being slim.

There are not many differences between these skins, classic has thicker arms, and slim has thin arms. Keep in mind to remember if the skin you downloaded is classic or slim, as your skin might not look right on a model it wasn’t made for!
After you select the model of your skin, scroll down to “Upload a Custom Skin”, which looks like this:
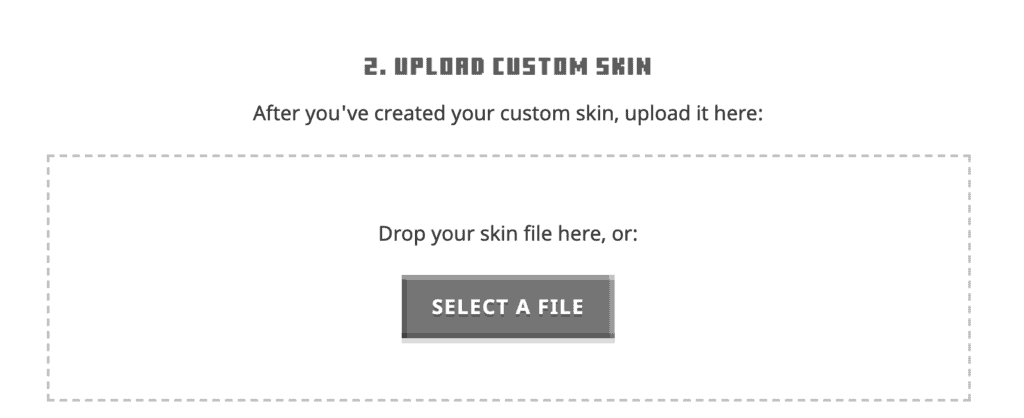
Click on “Select a File” and select the skin you downloaded. Then click “Upload” and you’ll have your own skin! It should appear at the bottom of your page after you upload it.